
To begin crafting an automatic welcome email, navigate to the "Automations" section and select "Add new".
To create a new automation, simply click on the "Add New" button. This will open a new window where you can explore all the available automation options.
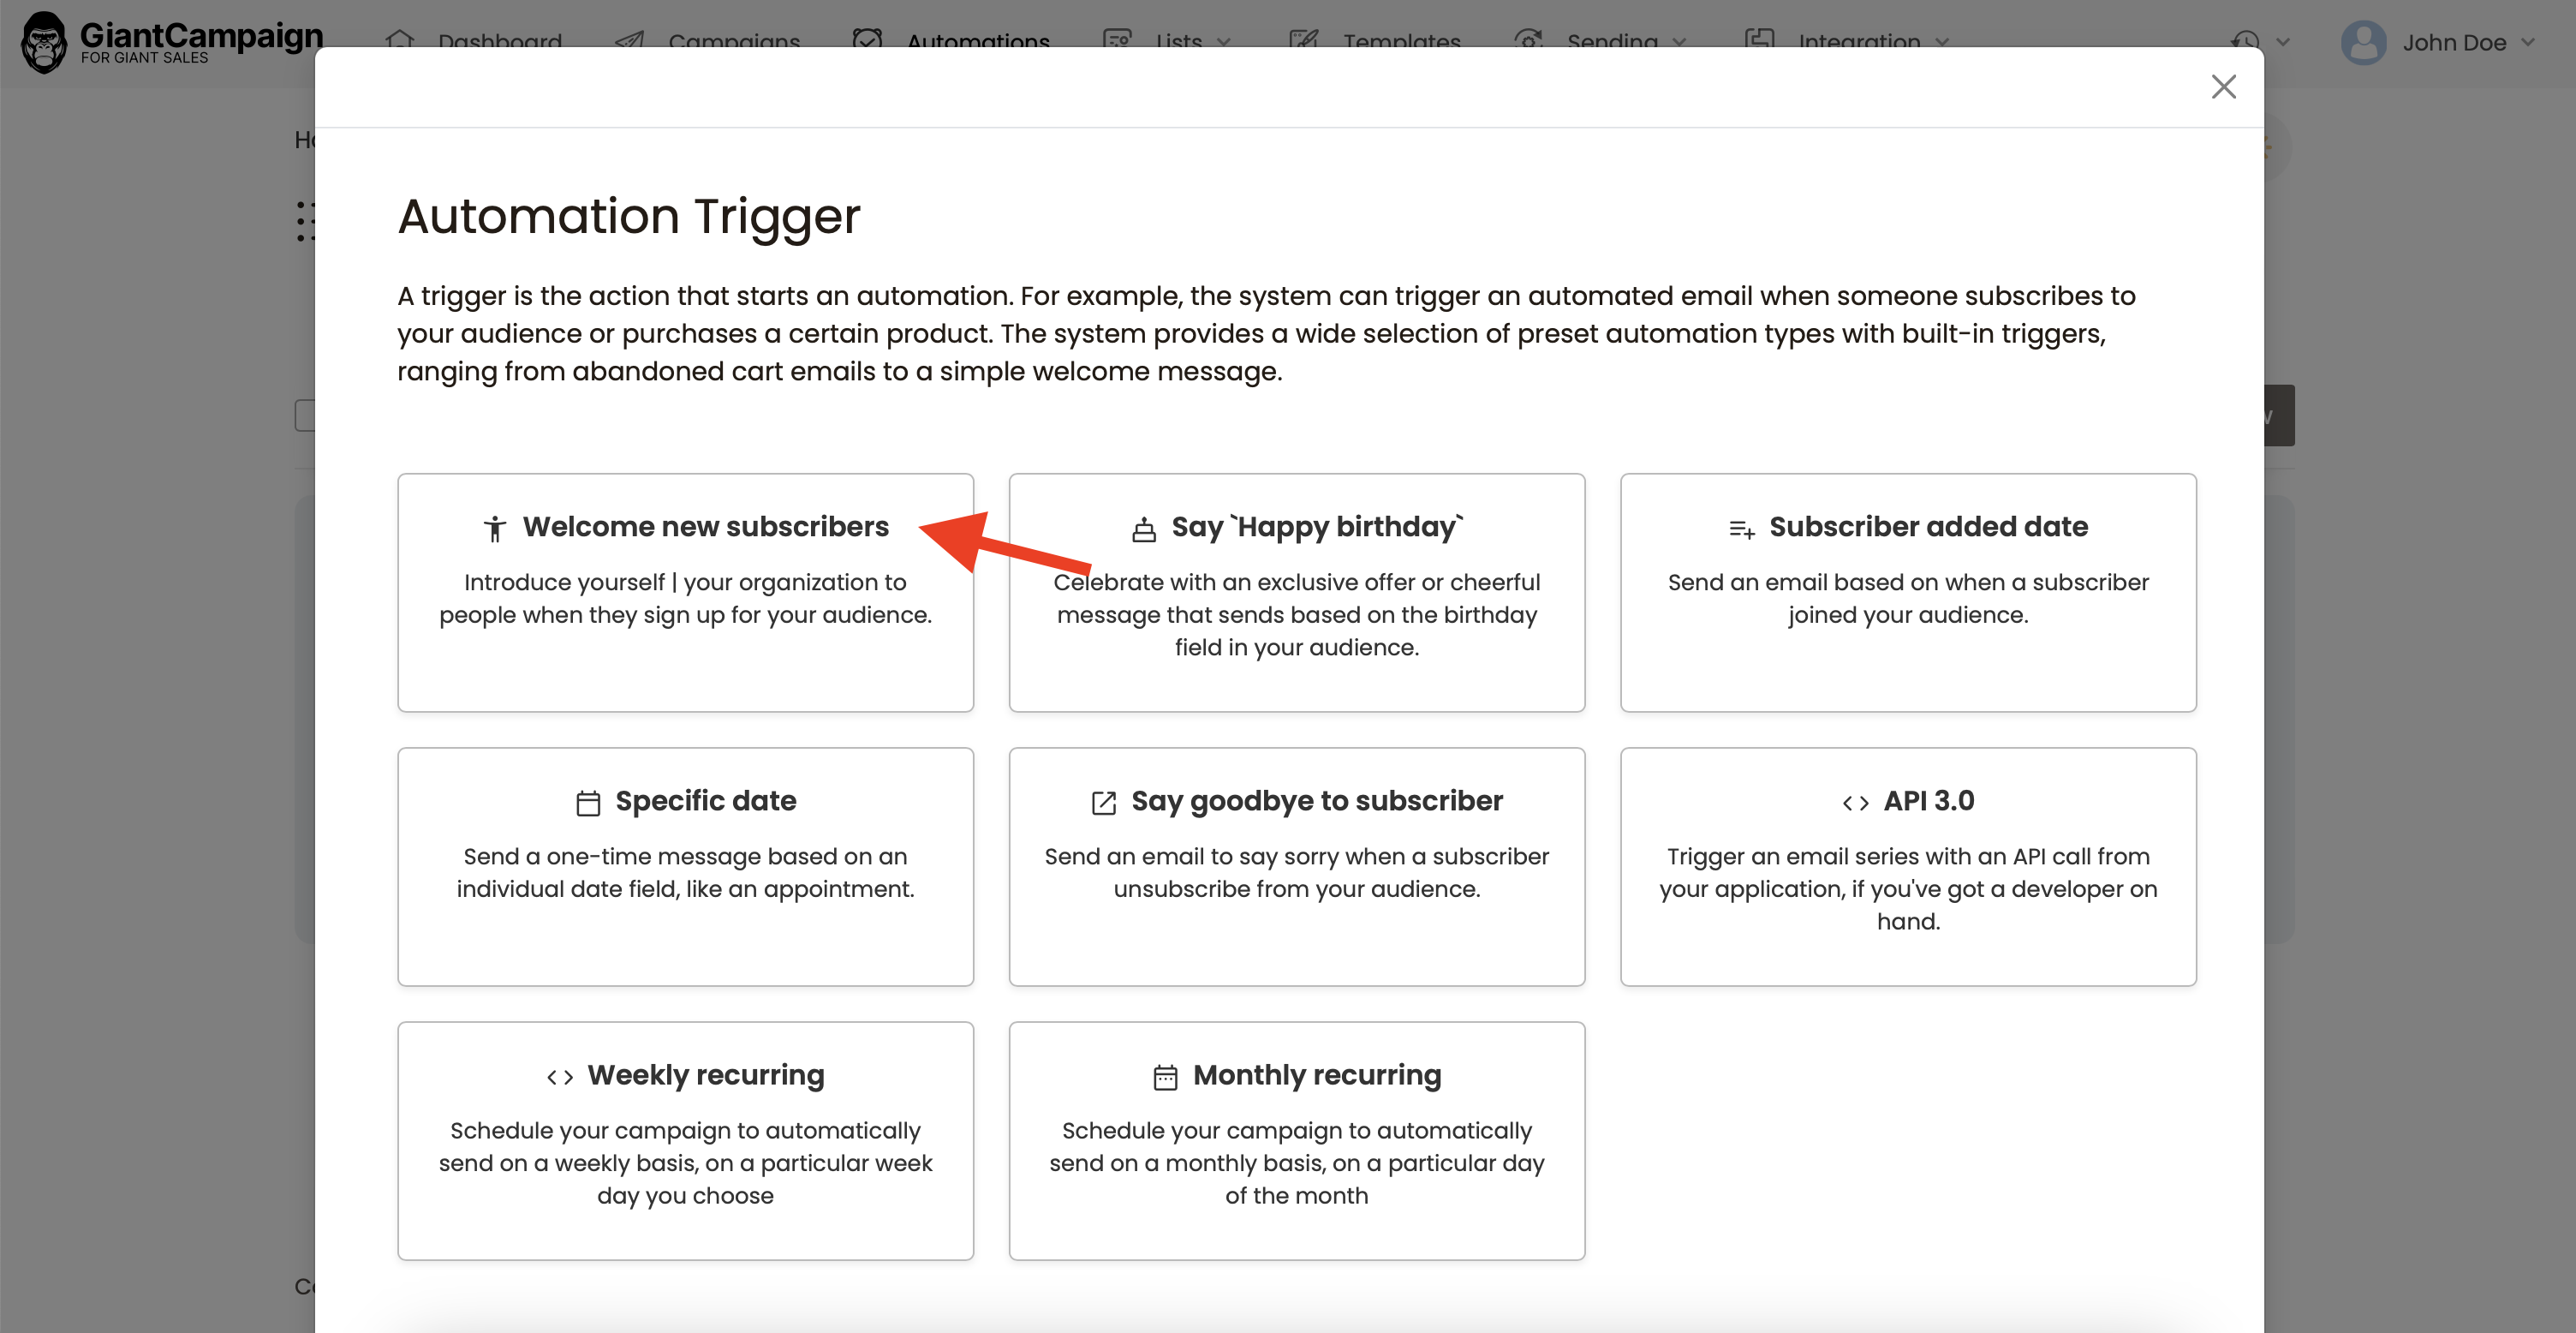
To get started, select "Welcome new subscribers" and begin building your automation.
To proceed further, you need to select a list of subscribers to whom automated emails will be sent.
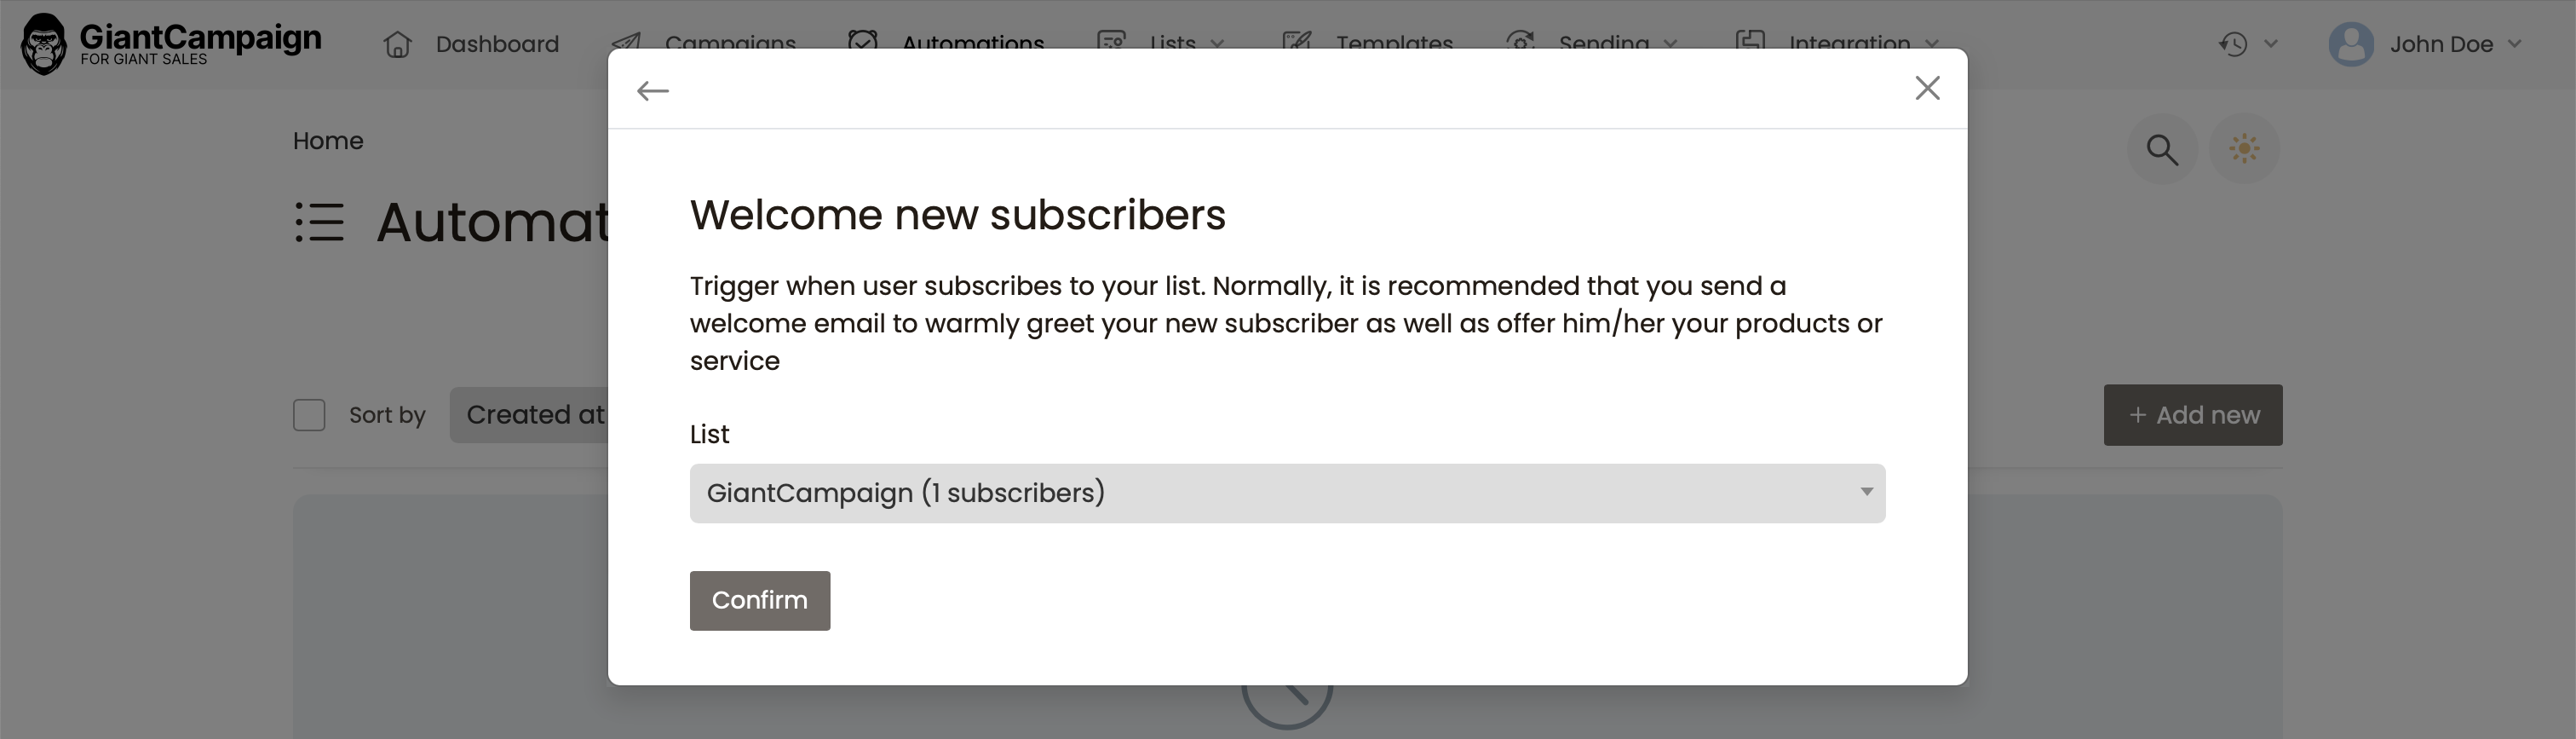
To move forward with the process, you can simply click on the "Confirm" button after choosing the email list for automated emails.

Please provide a name for your automation. The name you choose will only be visible to you, so it's recommended to select a name that gives you an idea of what the automation accomplishes.
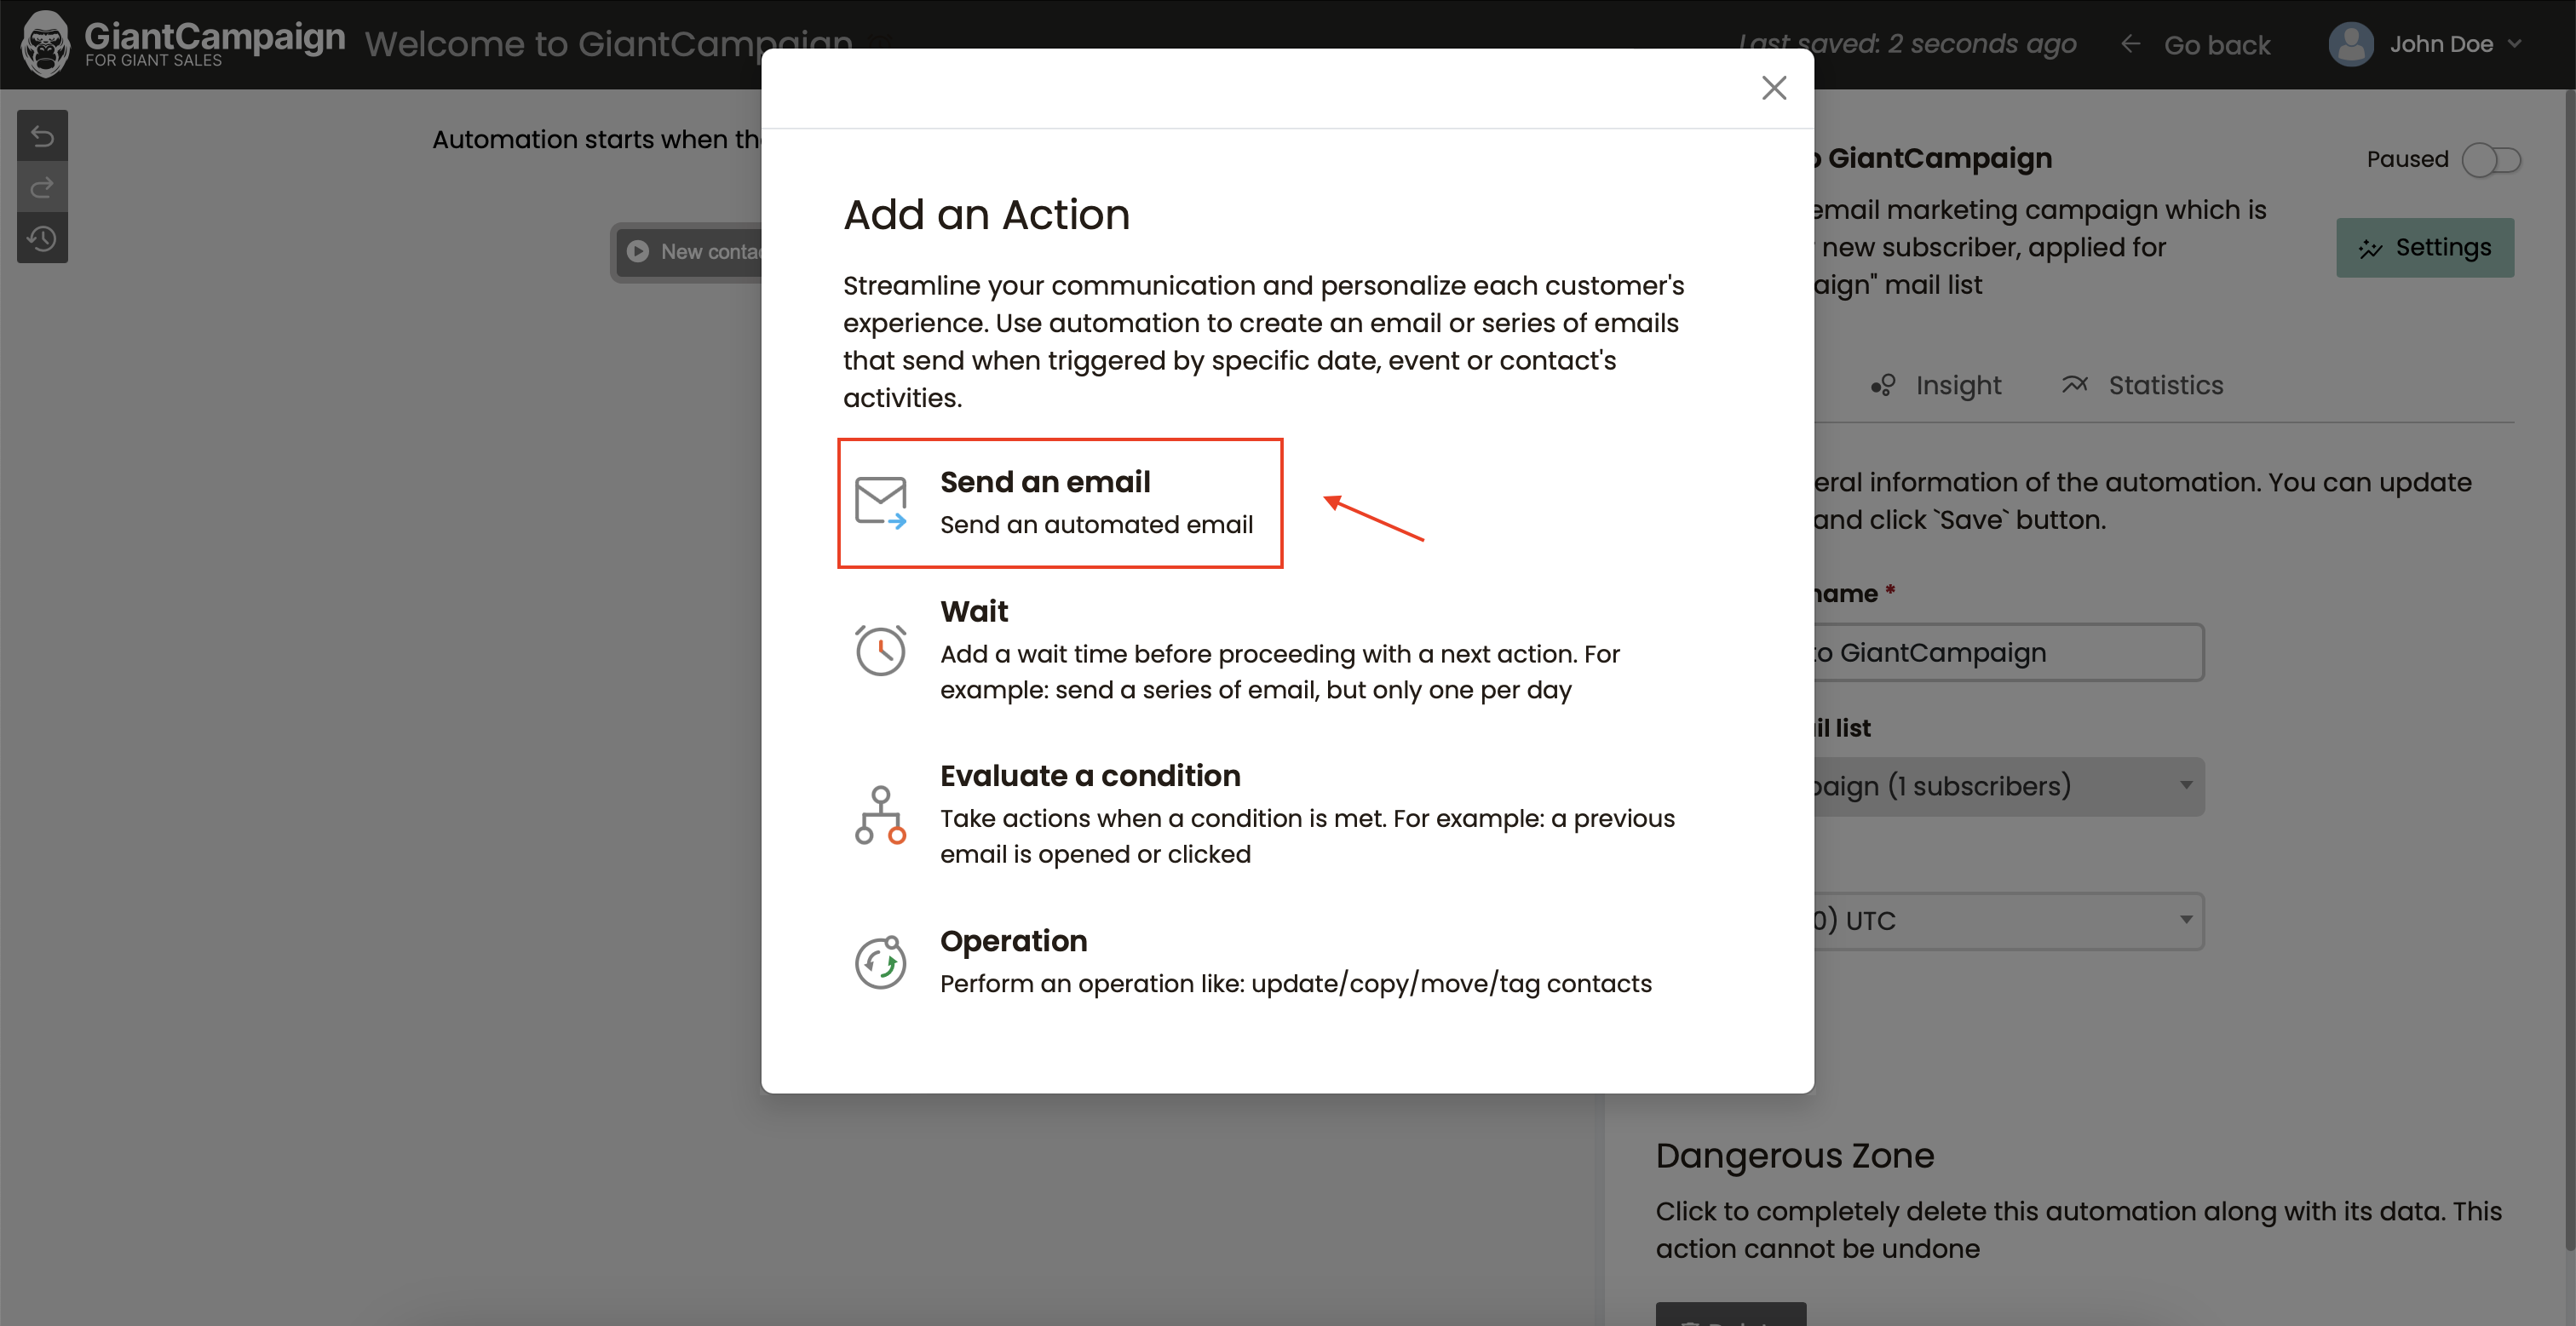
To proceed further, you need to click on the plus sign (+) button. Once done, choose the option "Send an email" to include that particular action in your automation.
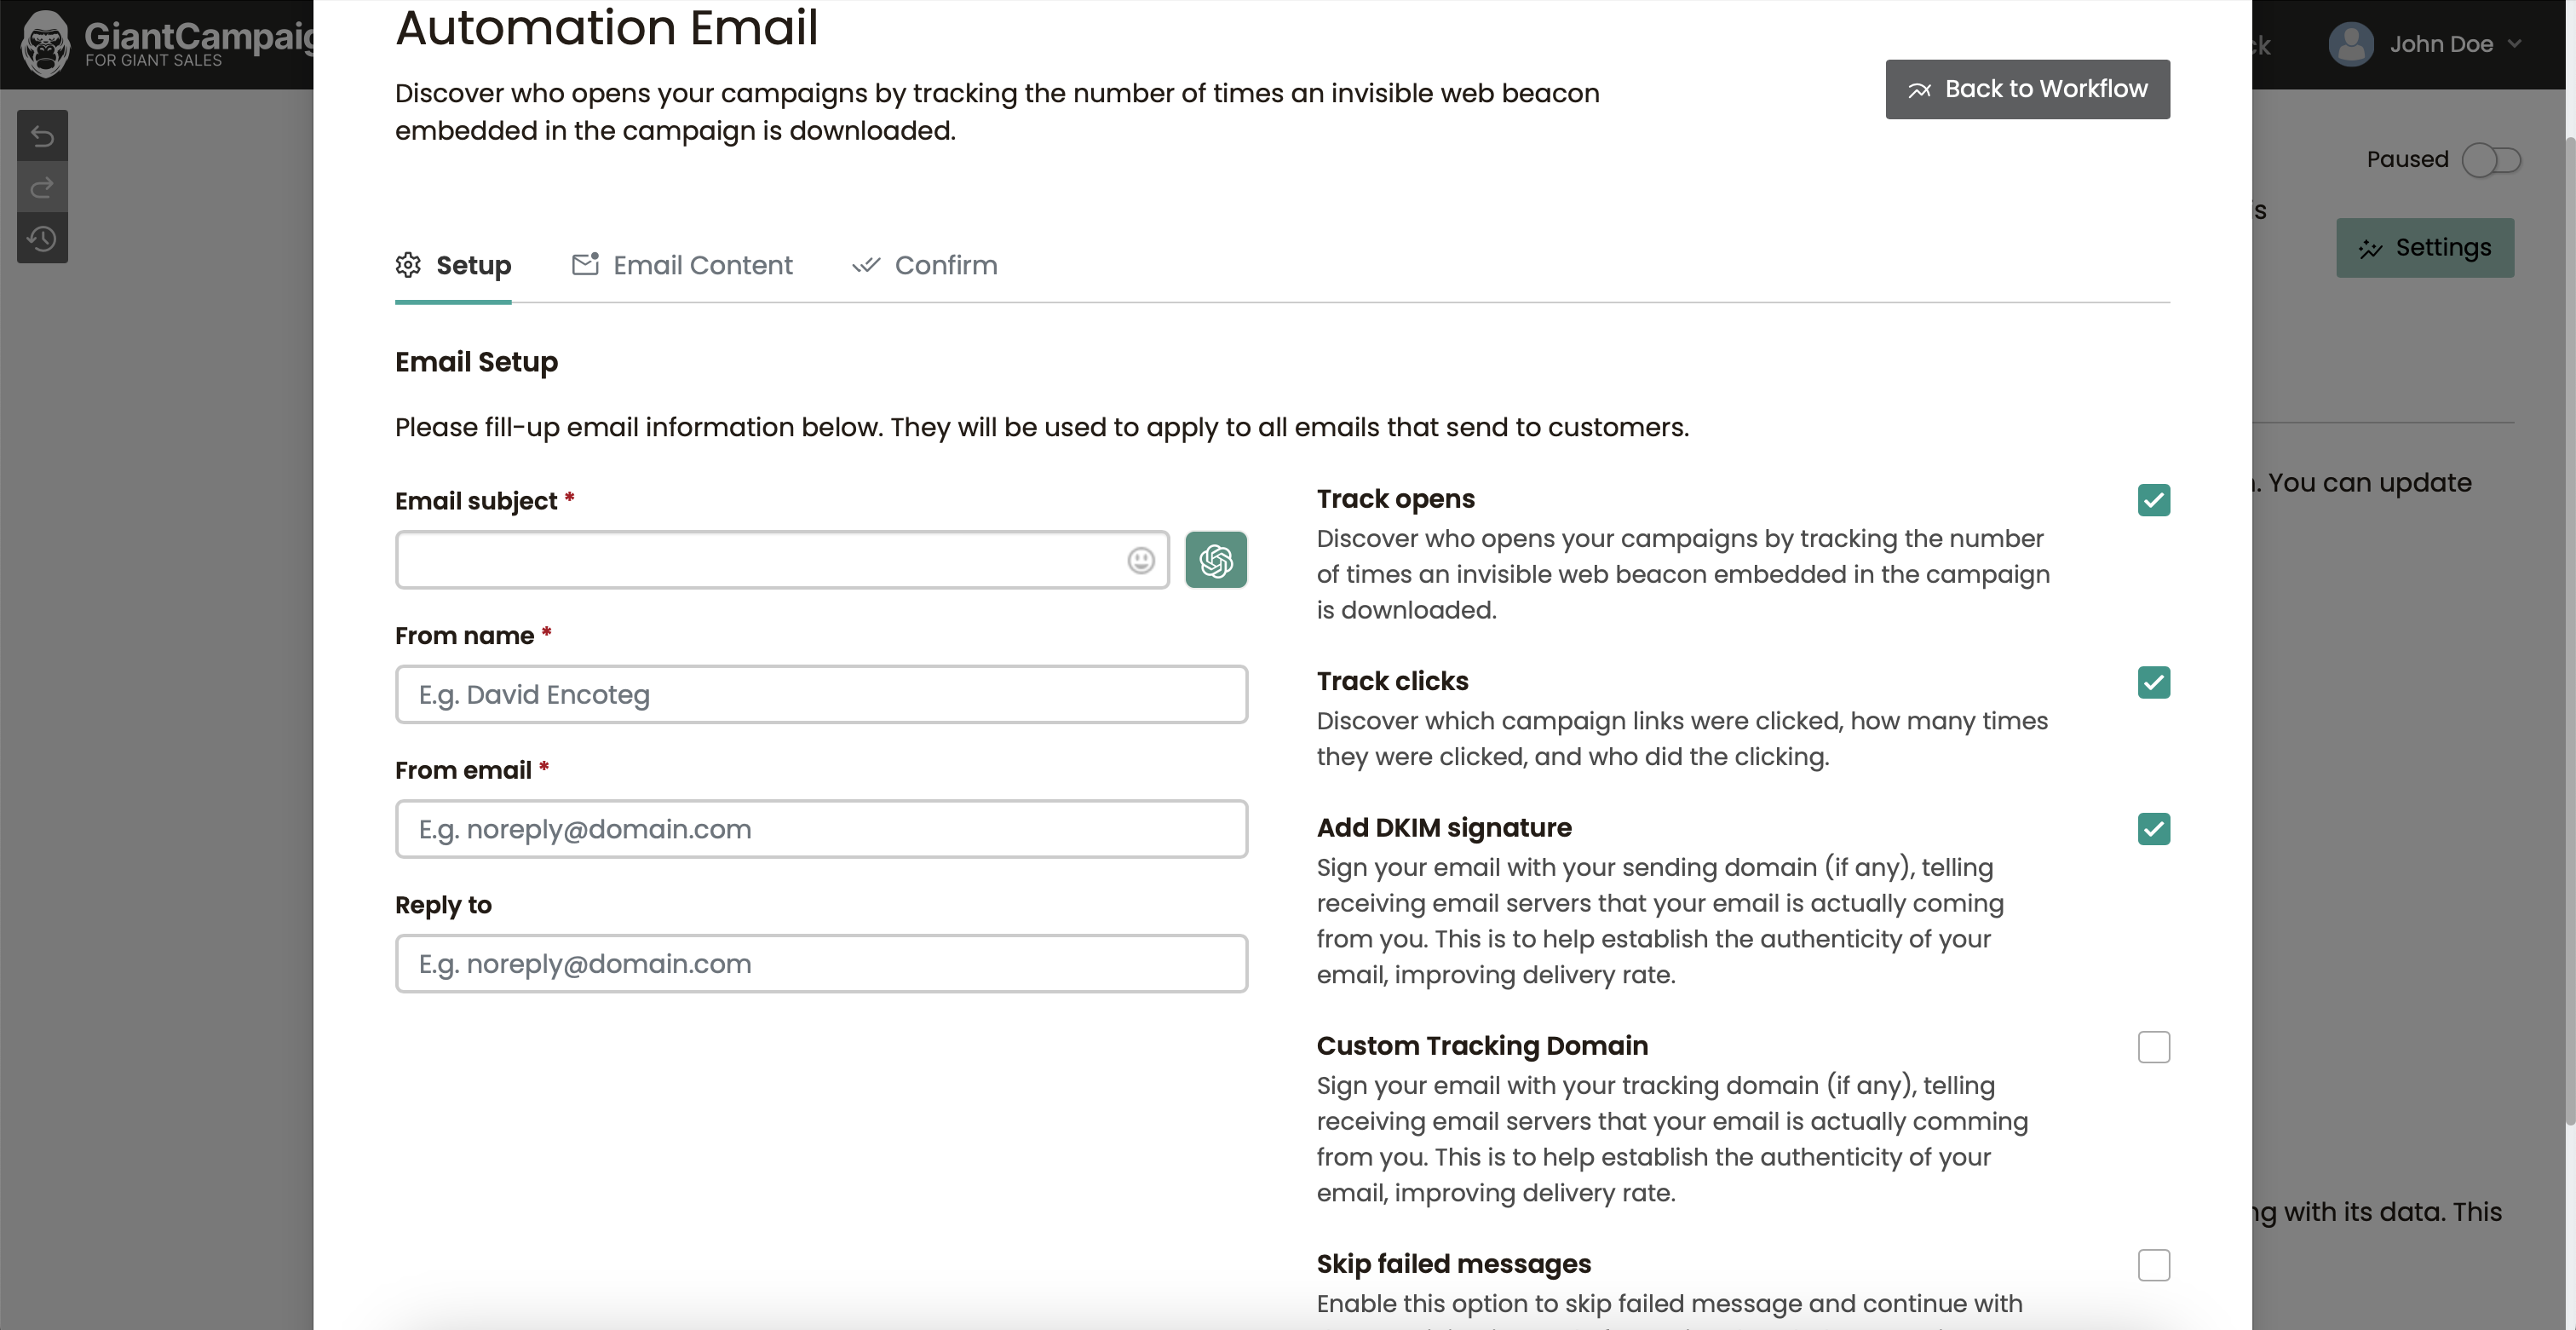
When you access your email, you will come across the "Setup" screen. On this screen, you need to enter your email name (which will not be visible to your subscribers) along with the sending email address and name, subject line, and preview text (if required).
Once you have completed configuring all the required settings for your automation, you can proceed by clicking the "Save & Next" button to pick a suitable template for your automation.

You are at the second to last step, where you must select a template or upload your own if you have made one already, using a ZIP archive.
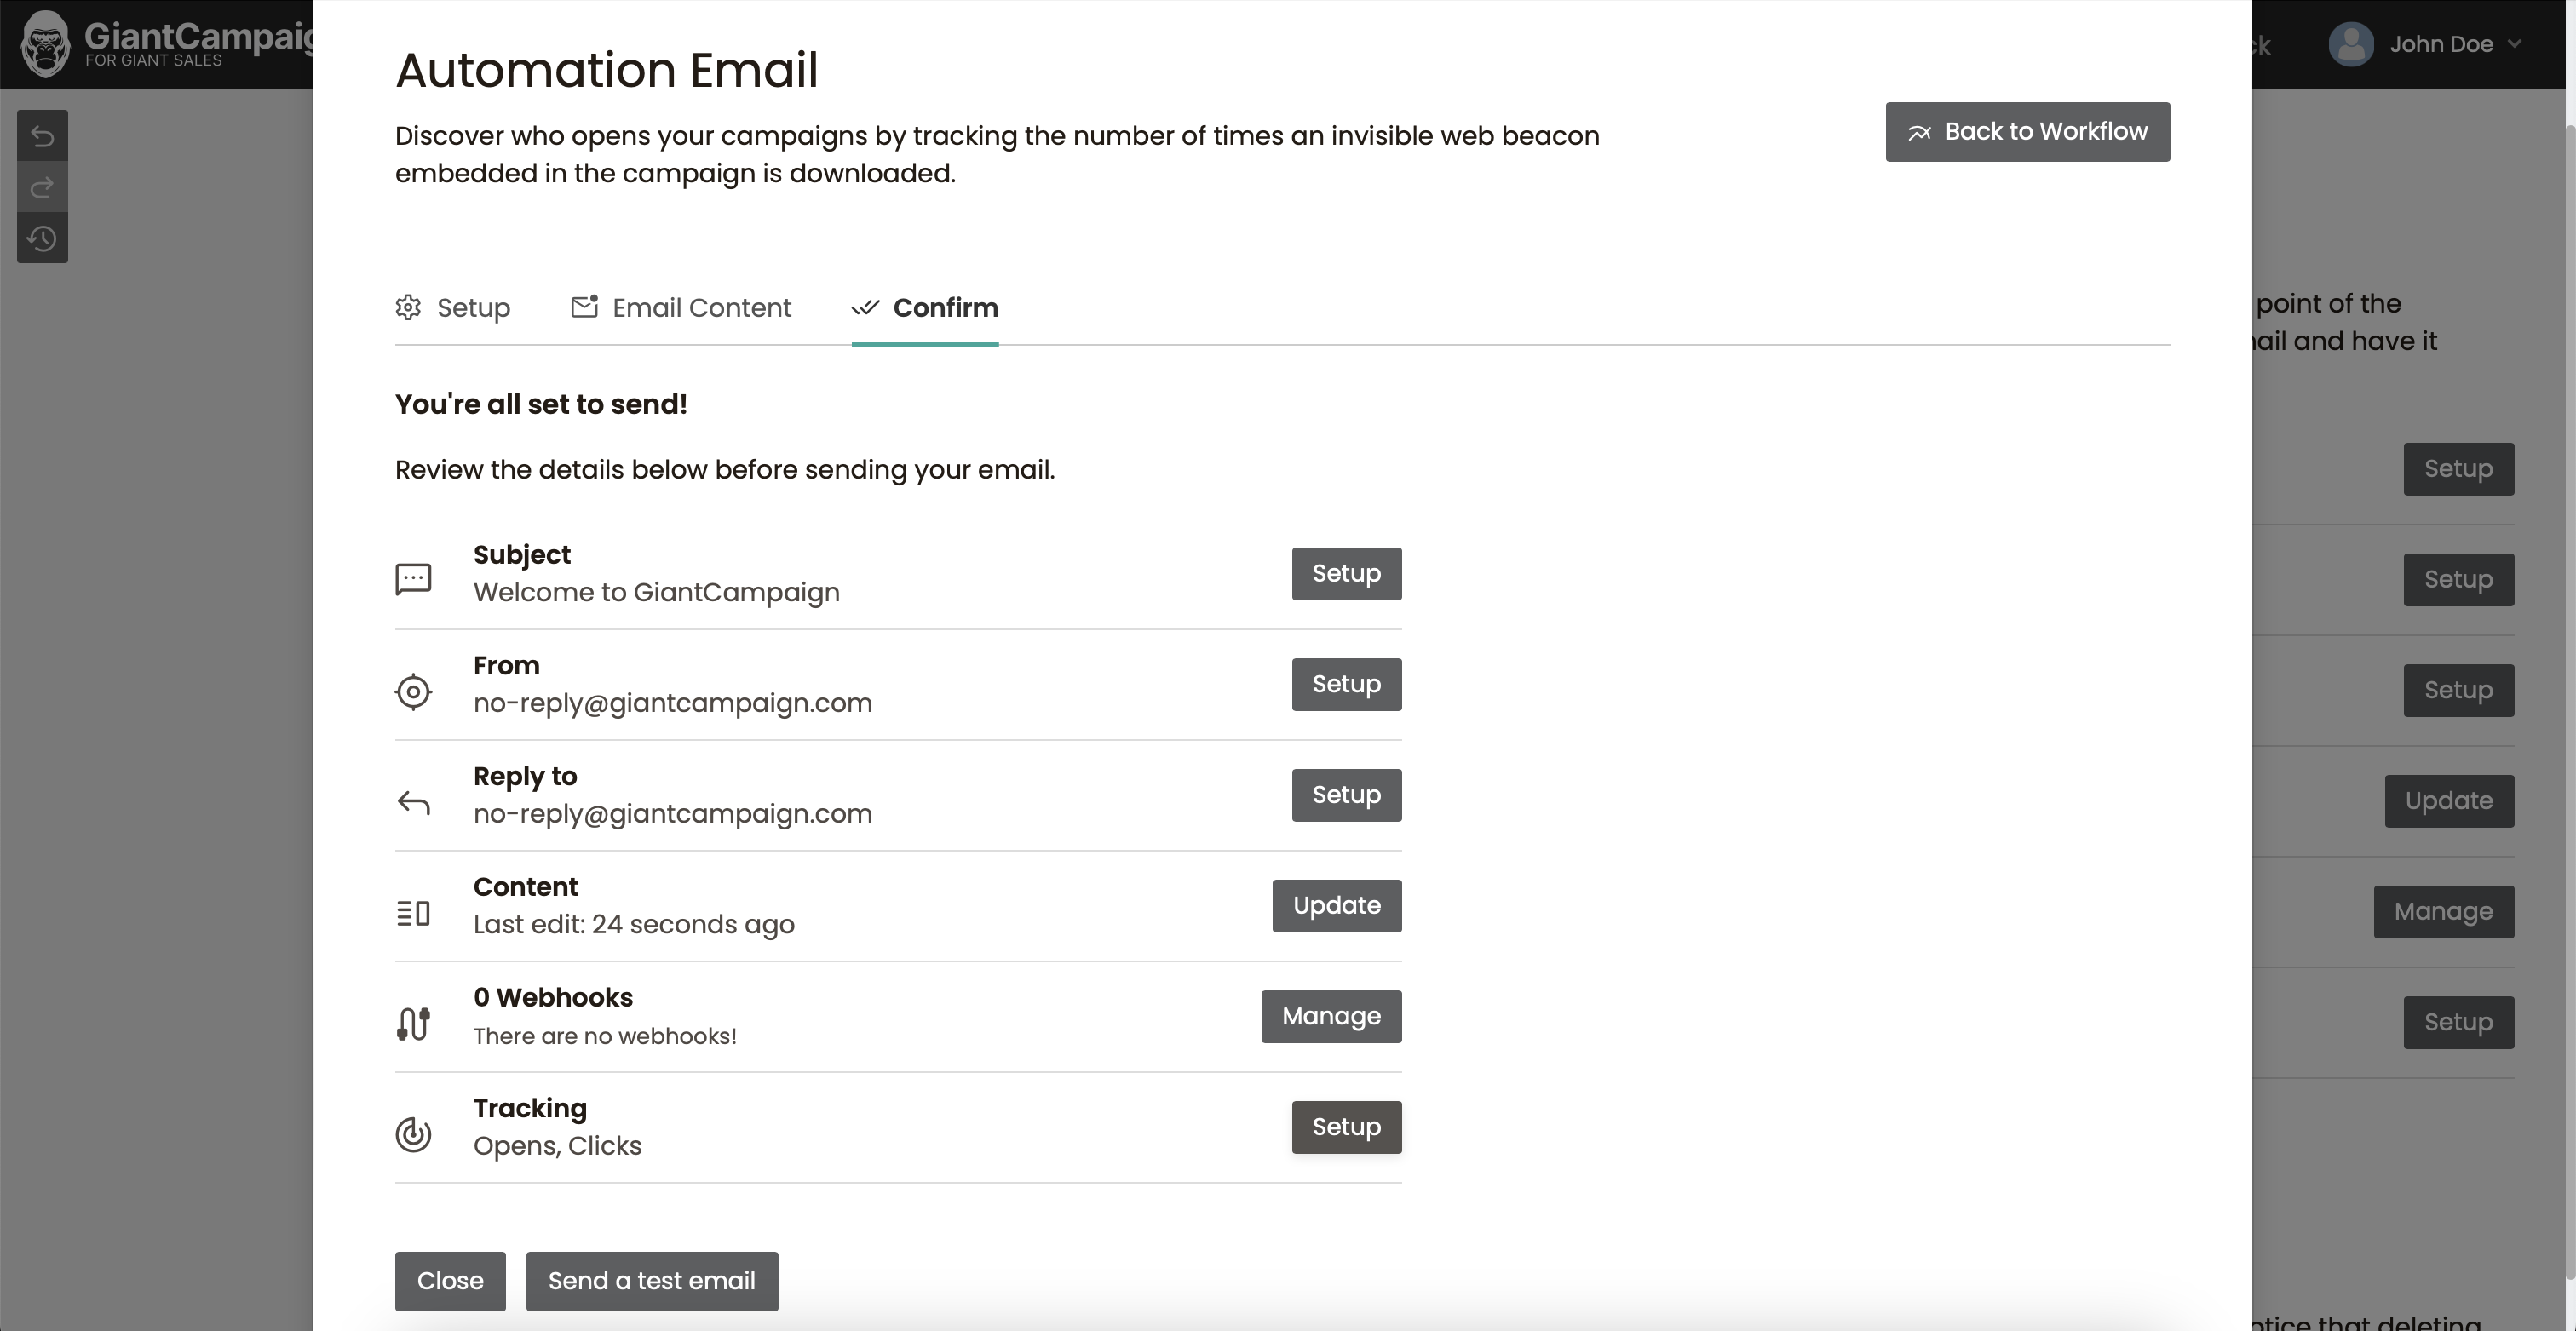
You're almost done! You can either send a test email to preview your automation or simply click the close button.
Back to knowledge base